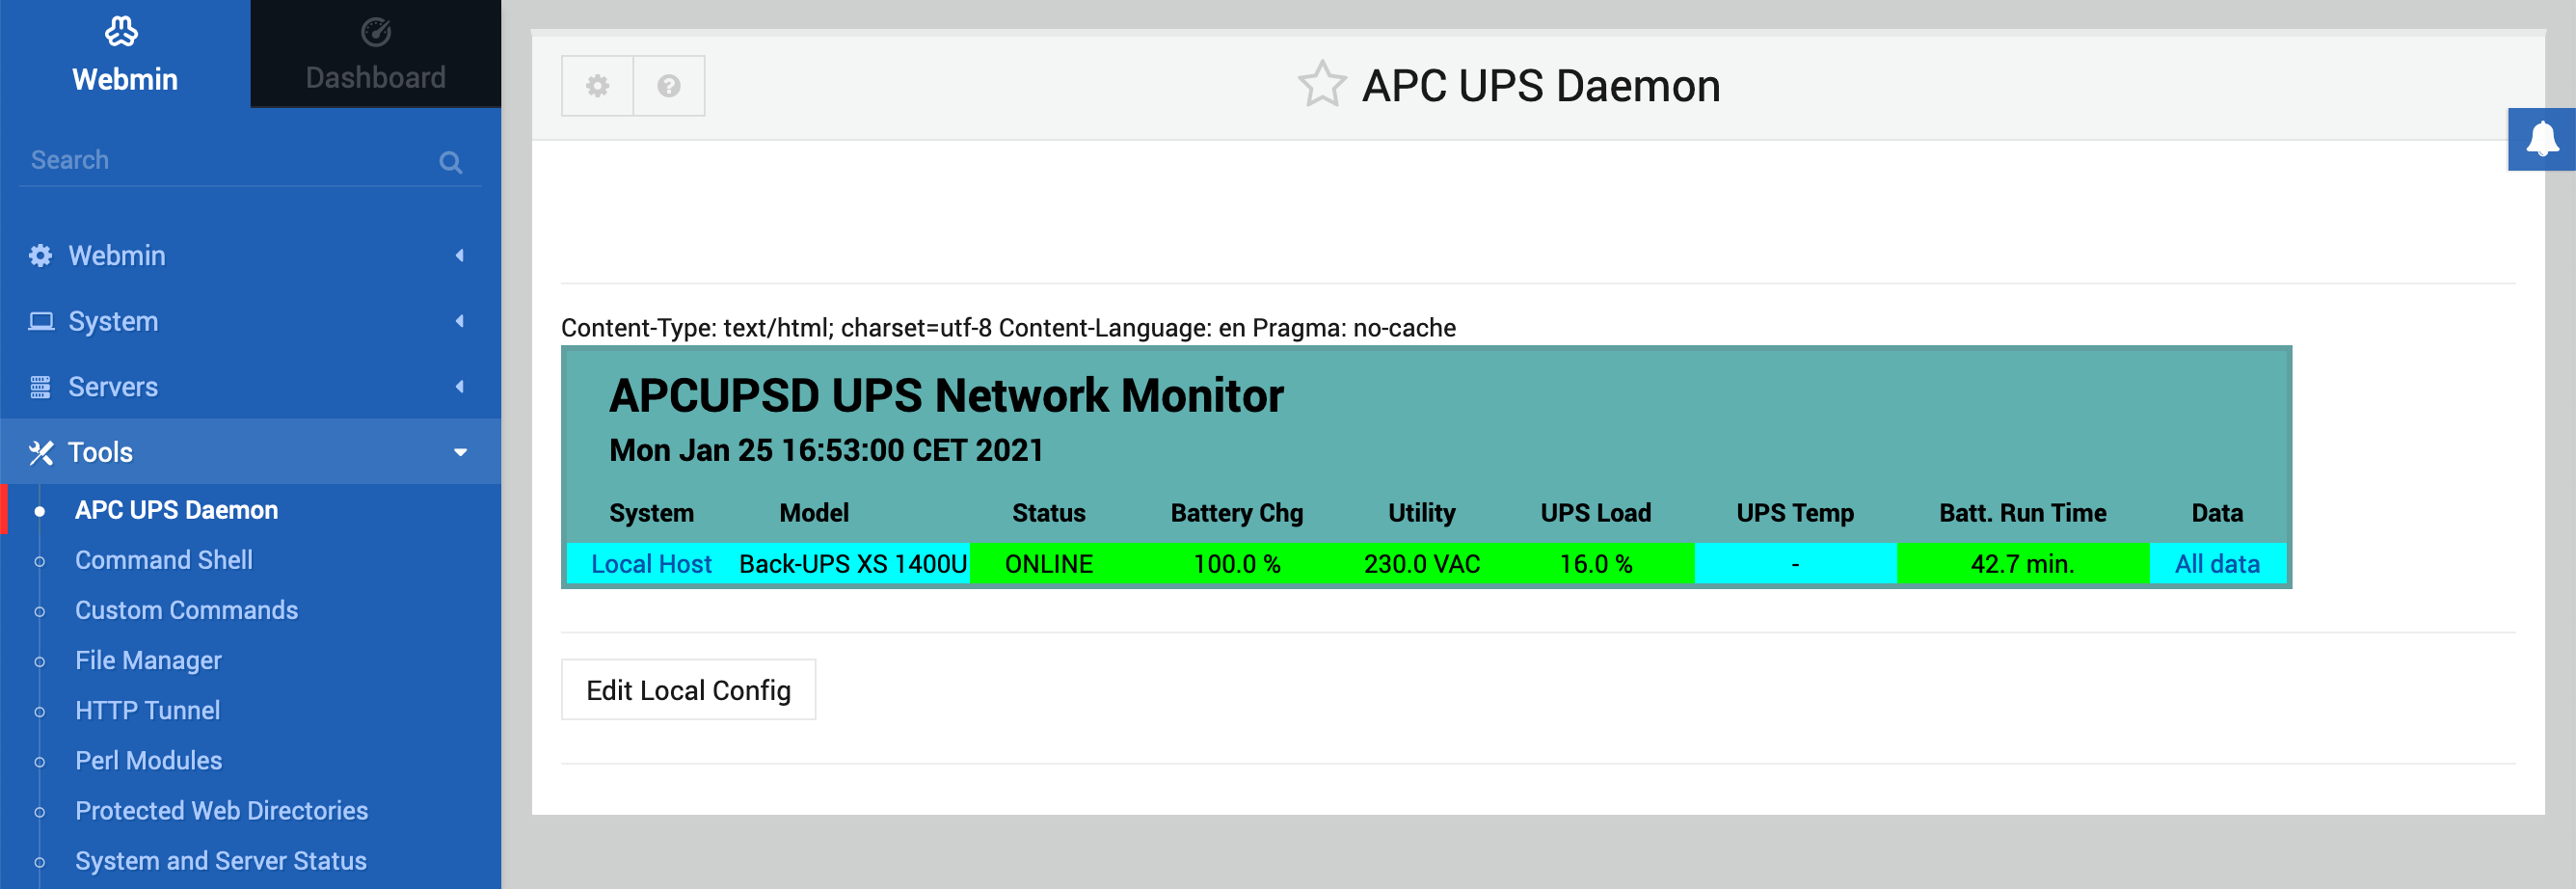
How To Install APC Monitor in WEBMIN
This toturial describes how to install the APC Backup Monitor into Webmin. Do this as root user or add sudo to the lines below.
apt-get -y install apcupsd
cp /etc/apcupsd/apcupsd.conf /etc/apcupsd/apcupsd.conf.bak
nano /etc/apcupsd/apcupsd.conf
and edit the following lines:
 UPSNAME smartups750
 UPSCABLE usb
 UPSTYPE usb
 DEVICE
 POLLTIME 60
cp /etc/default/apcupsd /etc/default/apcupsd.bak
nano /etc/default/apcupsd
and set the following line to yes:
ISCONFIGURED=yes
Do a test to see if your APC communicates with your server with:
apcaccess status
You should see something like:
 APC      : 001,017,0423
 DATE     : 2021-01-01 12:00:00 +0100
 HOSTNAME : validate
 VERSION  : 3.14.14 (31 May 2016) debian
 CABLE    : USB Cable
 DRIVER   : USB UPS Driver
 UPSMODE  : Stand Alone
 STARTTIME: 2021-01-25 16:25:30 +0100
 STATUS   : COMMLOST
 MBATTCHG : 5 Percent
 MINTIMEL : 3 Minutes
 MAXTIME  : 0 Seconds
 NUMXFERS : 0
 TONBATT  : 0 Seconds
 CUMONBATT: 0 Seconds
 XOFFBATT : N/A
 STATFLAG : 0x05000100
 END APC  : 2021-01-01 12:00:00 +0100
If you see this, you have installed the drivers correctly and you can move on to configure Webmin. Herefore we need de graphicle module of the Apache Webserver. To do this enter the following in your terminal:
apt-get -y install apcupsd-cgi
If you use the webmin module you need to configure the following:
cp /usr/lib/cgi-bin/apcupsd/*.cgi /etc/apcupsd/
Download this file apcupsd0.812.wbm_.gz and head over to your Webmin Interface.
Go to “Webmin Configuration” in the left navigation pane and select “Webmin Modules”.
In “Install From” select “from uploaded file” and head over to the file you just downloaded. Press the button Install Module at the bottom of the page. The message should say that the installation went successful. Re-boot your server and login to your Webmin-Interface again. If you have done everthing right you should see the graphical status when going to TOOLS - APC UPS DAEMON in the navigation pane.
That's all!
Enjoy,
Your ArtIT Team

